
How to Build a Handmade Housewarming Gift Basket on a Budget
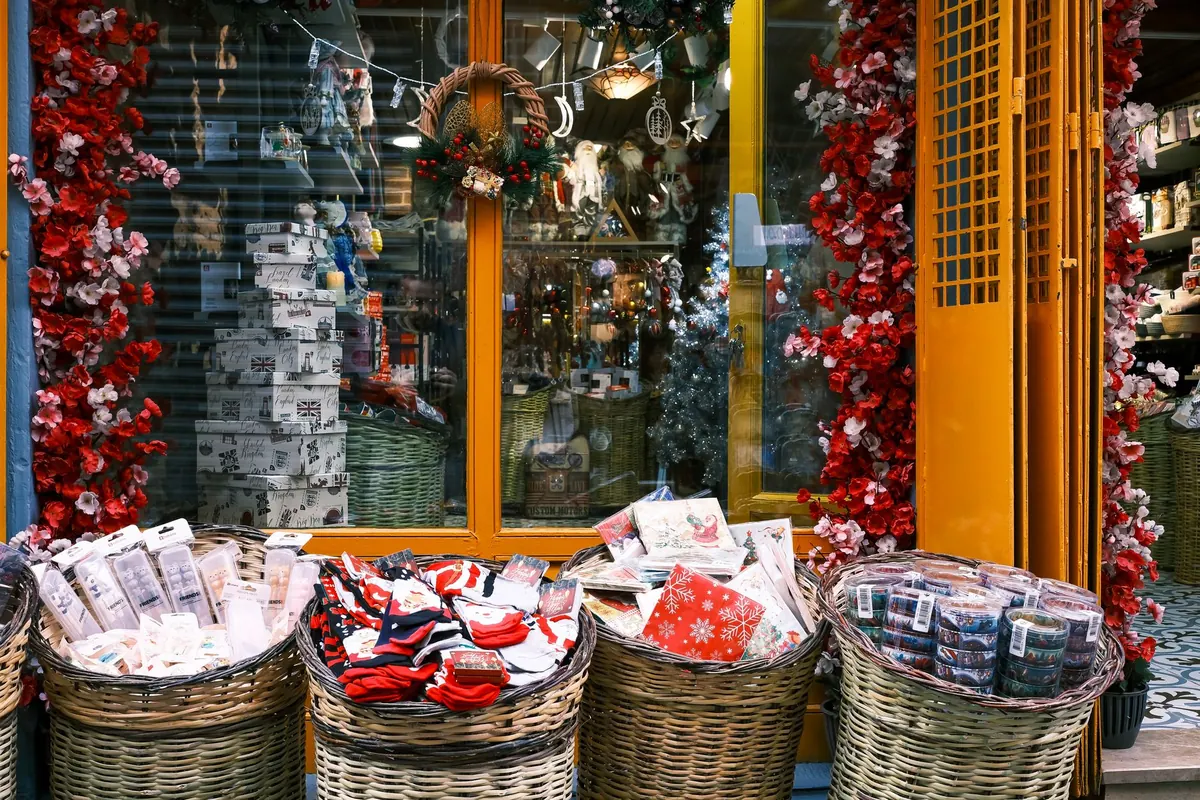
A new home is mostly empty boxes, a kettle balanced on the floor and a doorknob that still needs a screwdriver. Turning that into a proper welcome takes very little money if you are willing to spend an evening or two making things. The best handmade housewarming hampers are not big — they are specific. They say: I know you have a kitchen with one pan, and I thought about that.
Here is how to build one from scratch, starting with what you already own.
Start with the person, not the basket
Before you buy anything, decide what the gift is actually for. A first flat with two mugs in it needs different things from a family house with a garden. Ask yourself:
- Which room will they use most in the first fortnight? Kitchens and hallways usually win.
- What have they complained about lately? Draughty windows, no coat hooks, nowhere to drop keys.
- Are there allergies or dietary needs to respect? Nuts, dairy, gluten and pets all matter.
- Do they like colour and clutter, or calm and plain?
One question to a mutual friend will save you more money than any discount code.
Pick a container they will keep
The basket is part of the present, so avoid anything that ends up in the bin. A wicker basket from a charity shop, a sturdy wooden crate from a greengrocer, an old biscuit tin, a fabric tote, a plant pot or a shallow tray all work. Line it with something useful: a tea towel, a cloth napkin, or a piece of fabric you have hemmed. Now the lining is a gift too.
Size matters. A container that is slightly too small looks generous; one that is too big looks half-empty. Roughly shoebox-sized suits a first home, larger if you are including plants or jars.
Build around three handmade pieces
Three made items, plus a few small shop-bought fillers, is plenty. Think in categories rather than shopping lists.
Something useful
- Knitted or crocheted dishcloths in cotton yarn — quick, cheap and genuinely used.
- A hand-sewn apron, oven gloves or a simple peg bag from remnant fabric.
- Coasters cut from cork or felt, or a set of beeswax wraps for covering bowls.
- A wooden spoon finished with food-safe oil, or a small board sanded and oiled.
Something lovely
A small embroidered hoop, a dried flower posy tied with raffia, a candle poured into a teacup, or a hand-carved stamp used to print a card. Keep it small; this is the item that makes the basket look styled rather than assembled.
Something to eat or grow
Shortbread, herb salt, infused sugar, granola, a jar of chutney or a pot of mint. If you are giving food, label it with the date and the ingredients, and flag nuts or dairy clearly — it is the decent thing to do and saves an awkward conversation. If you ever plan to sell what you make rather than give it, food hygiene rules apply, so check with your local council first.
Fill the gaps without spending much
Gaps are what make a basket look finished. Supermarket own-brand ranges and charity shops cover this well:
- Two good teabags or a small bag of coffee
- A bar of soap or a small hand cream
- Matches in a nice box, a candle, or a bundle of string
- Chocolate, biscuits or a bag of dried pasta
- Washing-up cloths, a sponge or a roll of bin bags — unglamorous and quietly welcome
Buy one nice version of something rather than three cheap versions of the same thing. A single decent bar of soap beats a plastic-wrapped trio.
Keep the cost down
- Shop your stash first. Most crafters already own yarn, fabric, ribbon and jars. Use those before buying anything new.
- Make one hero item and keep the rest simple. A beautiful embroidered hoop with plain fillers looks better than five rushed projects.
- Batch with a friend. Make jam, candles or biscuits in one session for two or three hampers and split the ingredients.
- Use the season. Blackberries in autumn, herbs in summer, dried orange slices in winter.
- Skip expensive wrapping. Brown paper, twine and a fabric scrap cost very little and look better than shiny ribbon.
Assemble and finish it properly
Pack heavy items at the bottom and the tallest at the back so the contents can be seen from the front. Use crumpled brown paper or saved delivery packaging to fill gaps — it stops jars rattling and lifts small items into view. Tuck the loveliest thing at an angle where the eye lands last. This is the bit that makes people think you spent more than you did.
Tie it with twine and add a handwritten tag listing what is inside. Add care instructions where they matter: how to wash the dishcloths, how to water the mint, whether the candle wick should be trimmed. A short note — “the chutney is best after a fortnight” — turns a collection of objects into a gift.
A simple timeline
- Two weeks before: choose the theme, check allergies, find the container.
- One week before: make the handmade items and let any food settle or set.
- Two days before: buy the fillers and check what you already have.
- The day before: assemble, wrap and write the tag.
If you are posting rather than delivering, leave out glass jars and heavy tins, and pack the basket inside a sturdy box with plenty of padding. A posted hamper should be light enough to carry up a flight of stairs.
Hand it over well
Deliver it in person if you can, ideally once the boxes are out of the hallway. Keep the basket modest — a few well-chosen things arranged with care always beat a large haul of filler. If money is tight this month, one handmade item with a good note is a complete gift on its own. The point is not the size of the hamper. It is that someone thought about the room you are standing in.
Photo: Onur / Pexels